Sunday, October 27, 2013

Epiphone LP Junior - Favorite Son

He hit the ground running,
At the speed of light.
The star was brightly shining,
Like a neon light.


While I was out of town a few weeks ago, my favorite (and only) son and I had a wonderful phone conversation.  After telling me about his day at school and the new "mother" jokes he and his sixth-grade friends exchanged, he mentioned that his Epi was broken.  Naturally, fear struck my heart like a bomb being dropped in an old Green Day video.  After discussion, I was relieved to find out that the output jack had simply become loose as a result of many hours of play.  After getting caught up with most everything else around the house, I finally got around to taking care of my son's guitar.  But, since he is not in the position to pay my customary bench time fees, I took the opportunity to teach the youngin' a thing or two about taking care of his own guitar.


Looking inside the jack plate, we could just barely see the silver jack inside the body cavity.


Graham grabbed a small Phillips driver and removed three of the four screws.


After fishing out the jack with a metal pointer, we checked and made sure the wiring was intact.


Once we were sure that everything was in working order, we started putting things back together.


After placing the plate and washer over the jack, I used a socket driver to reinstall the nut...


...and let Graham screw the assembly pack into place.

It was nice having an extra pair of hands to work on things for a change.  We'll see if this turns into a regular thing when I work on This Old Guitar.

Sunday, October 20, 2013

Jay Turser JTA-Flag300 - Crazy on You

But I tell myself that I'm doing alright
There's nothing left to do tonight but go crazy on you


Back in the 1970's a lot of guitarists went crazy over the Ovation bowl-back guitars.  Using a Lyrachord body, Charles H. Kaman, an aeronautical engineer known for his pioneering work in helicopter and aerospace design, revolutionized the guitar building industry.  Product endorsements ensued, and through many years of experimentation, Ovation still stands out as a pioneer in using alternative materials to produce beautiful and quality stringed instruments.  This Jay Turser of mine is an obvious copycat, using some lower-quality parts, but it is just as capable of being a very playable instrument and producing some very tasty sounds.

To stabilize the neck joint, I put in a set of machine bolts with brass inserts.  First up was enlarging the existing screw holes to accept the new brass inserts.


The inserts went in with ease, and I moved on to the visible part of this addition at the bowl side of her body.  Due to the length of the machine bolts and grommets I chose, it was necessary to partially countersink the grommets through the Lyrachord body and into the neck block


With the new body grommets and brass neck inserts in place, I restrung This Old Guitar again to confirm that the neck centerline was still true, and it was fine.  However, the clamping force of the four machine bolts was much more than with the four wood screws, and I quickly realized it was necessary to shim up the joint, one more time.  After gluing up a partial length oak shim, I started the process of  filing, chiseling and sanding it down to a good fit.


After restringing and tuning, I checked her action and was pleased to finally be close enough to finish her action adjustment with some minor reshaping of her bridge saddle to get to 0.08 inch 12-th fret action at her high and low E strings.


As expected, the new neck set angle and saddle height adjustment took care of the playability and intonation issues.  However, there is one remaining structural issue.


The new neck set angle produced a slight amount of separation between the body and fretboard.  This separation, combined with her nice, low action, is just enough to produce some upper fret buzzing when being played near the body.  As I want to keep her neck removable by simply pulling four bolts, gluing the fingerboard to the body is not an option.  In order to fix this, I'll be inducing some back bow into the upper end of her fretboard by means of some carbon fiber strips, the next time I get to work on This Old Guitar.

Saturday, October 5, 2013

Jay Turser JTA-Flag300 - Bargain

I'd pay any price just to win you
Surrender my good life for bad
To find you I'm gonna drown an unsung man


That was a good deal for Pete, but for my son and I decided to make a trade with a pair of our guitars.  He gets my rare-and-repaired Jay Turser Flag and I get his gently-used Mitchell Dreadnaught.  I'll come back to setting up the Mitchell to my likings in a future blog.  But, before we could make this horse trade official, I had a few things to finalize on the Flag.

All of the wood shims I added to the neck joint had finally settled, and the neck joint was shaky at best.  After a few minutes of hard playing, she needed to be retuned.  Although my son was ready to take her as-is, her action was already too high to adjust by further shortening her saddle height, as her saddle was already trimmed down some.  As a result of the high action, her intonation above 9th fret was off just enough to make me want to cover my ears.  I really could do without listening to my son play This Old Guitar in this condition, so the first item on the to-do list was another neck reset to increase her neck-to-body angle.  That would allow me to replace her used saddle with a new one, while leaving some room for future action adjustments as the new shim in the neck joint settles.


With some yellow glue and the new shim in place, I applied pressure with a pair of bar clamps.  After cleaning up the squeeze out glue with some water, I left the assembly to allow the glue to dry overnight.


A few touches with a chisel, some filing and some sanding took care of smoothing out the rough edges and trimming them flush to the rest of the heel.


After some trimming to both flat surfaces, it was time to check and adjust the new neck shim.  This new bone saddle is just over a full 1/16-inch taller than her old tusq saddle at the middle and has a larger radius that better matches her fretboard.


Before putting the screws back in, I clamped her neck in place and checked the projection along the centerline of her fret crowns to her new saddle with a straight edge.  It was lining up just below the tip of the saddle.


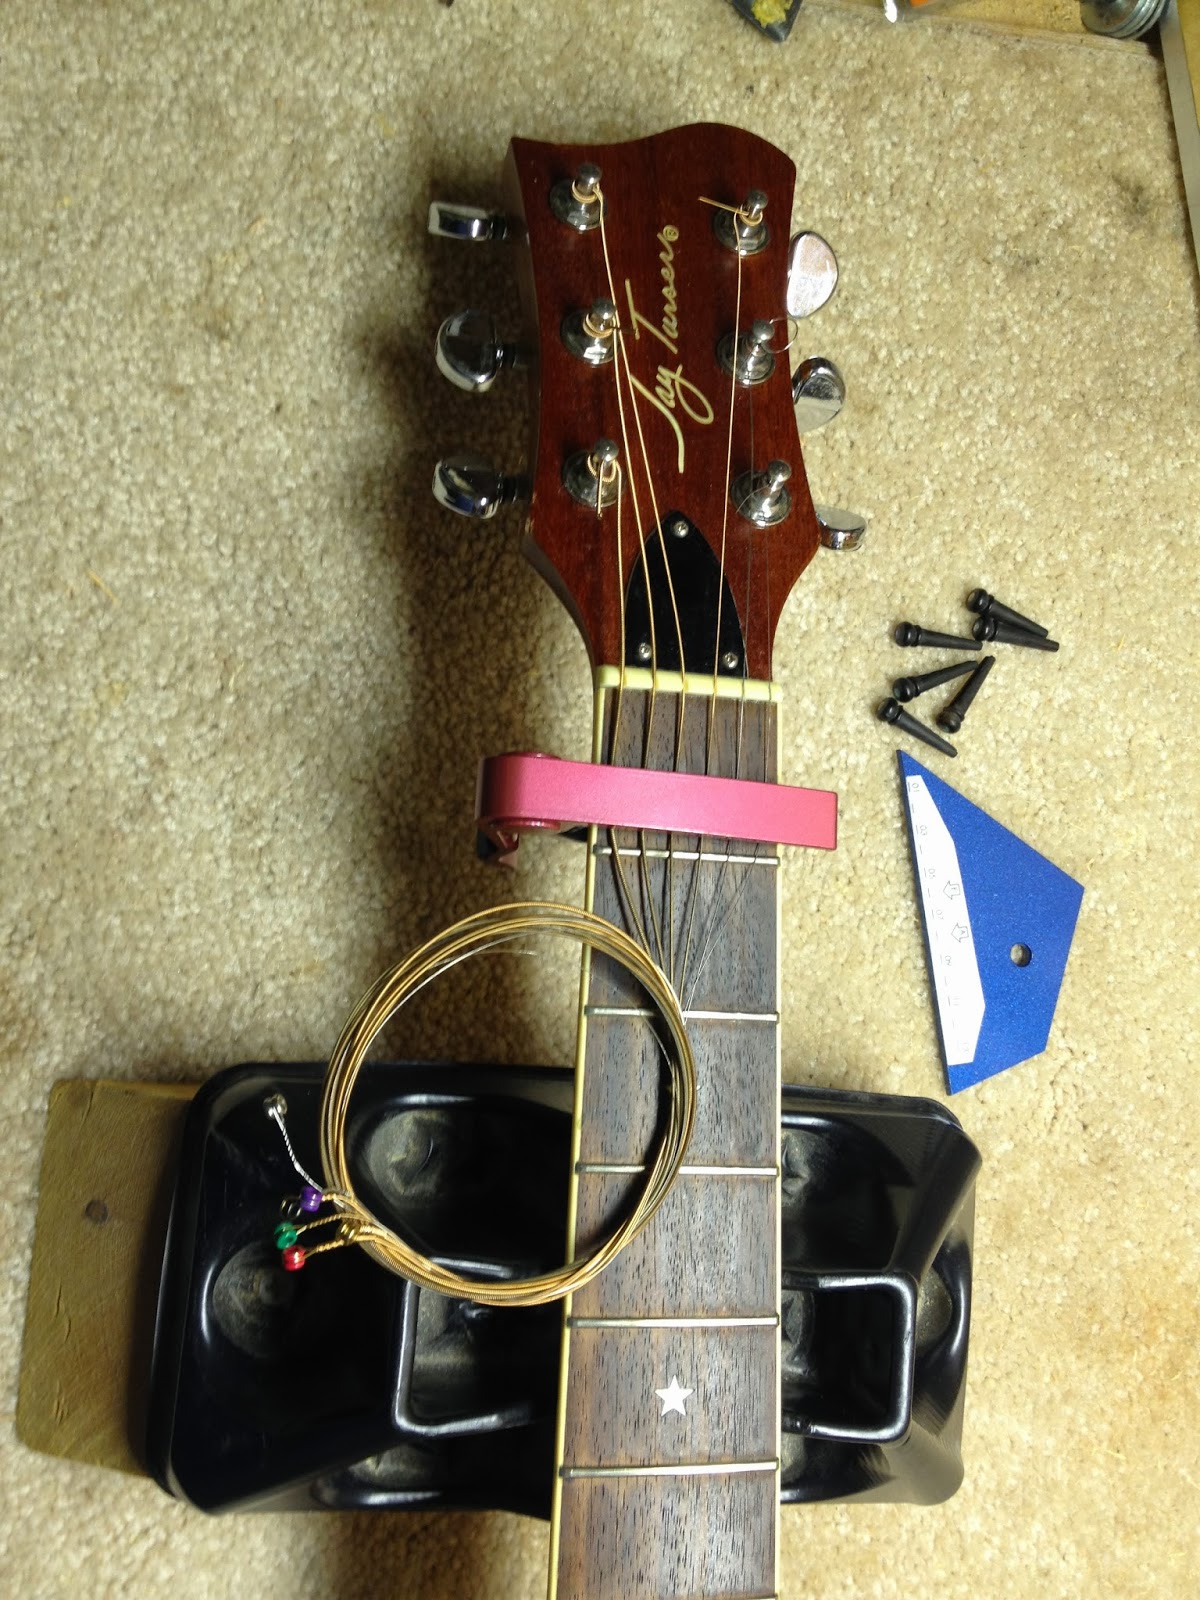
Pleased with how the projection looked, I restrung This Old Guitar.  BTW, here's how I use a capo to save and reuse a set of strings during repair work.  She'll get a new set of strings when I'm done adjusting the neck set angle and saddle height.


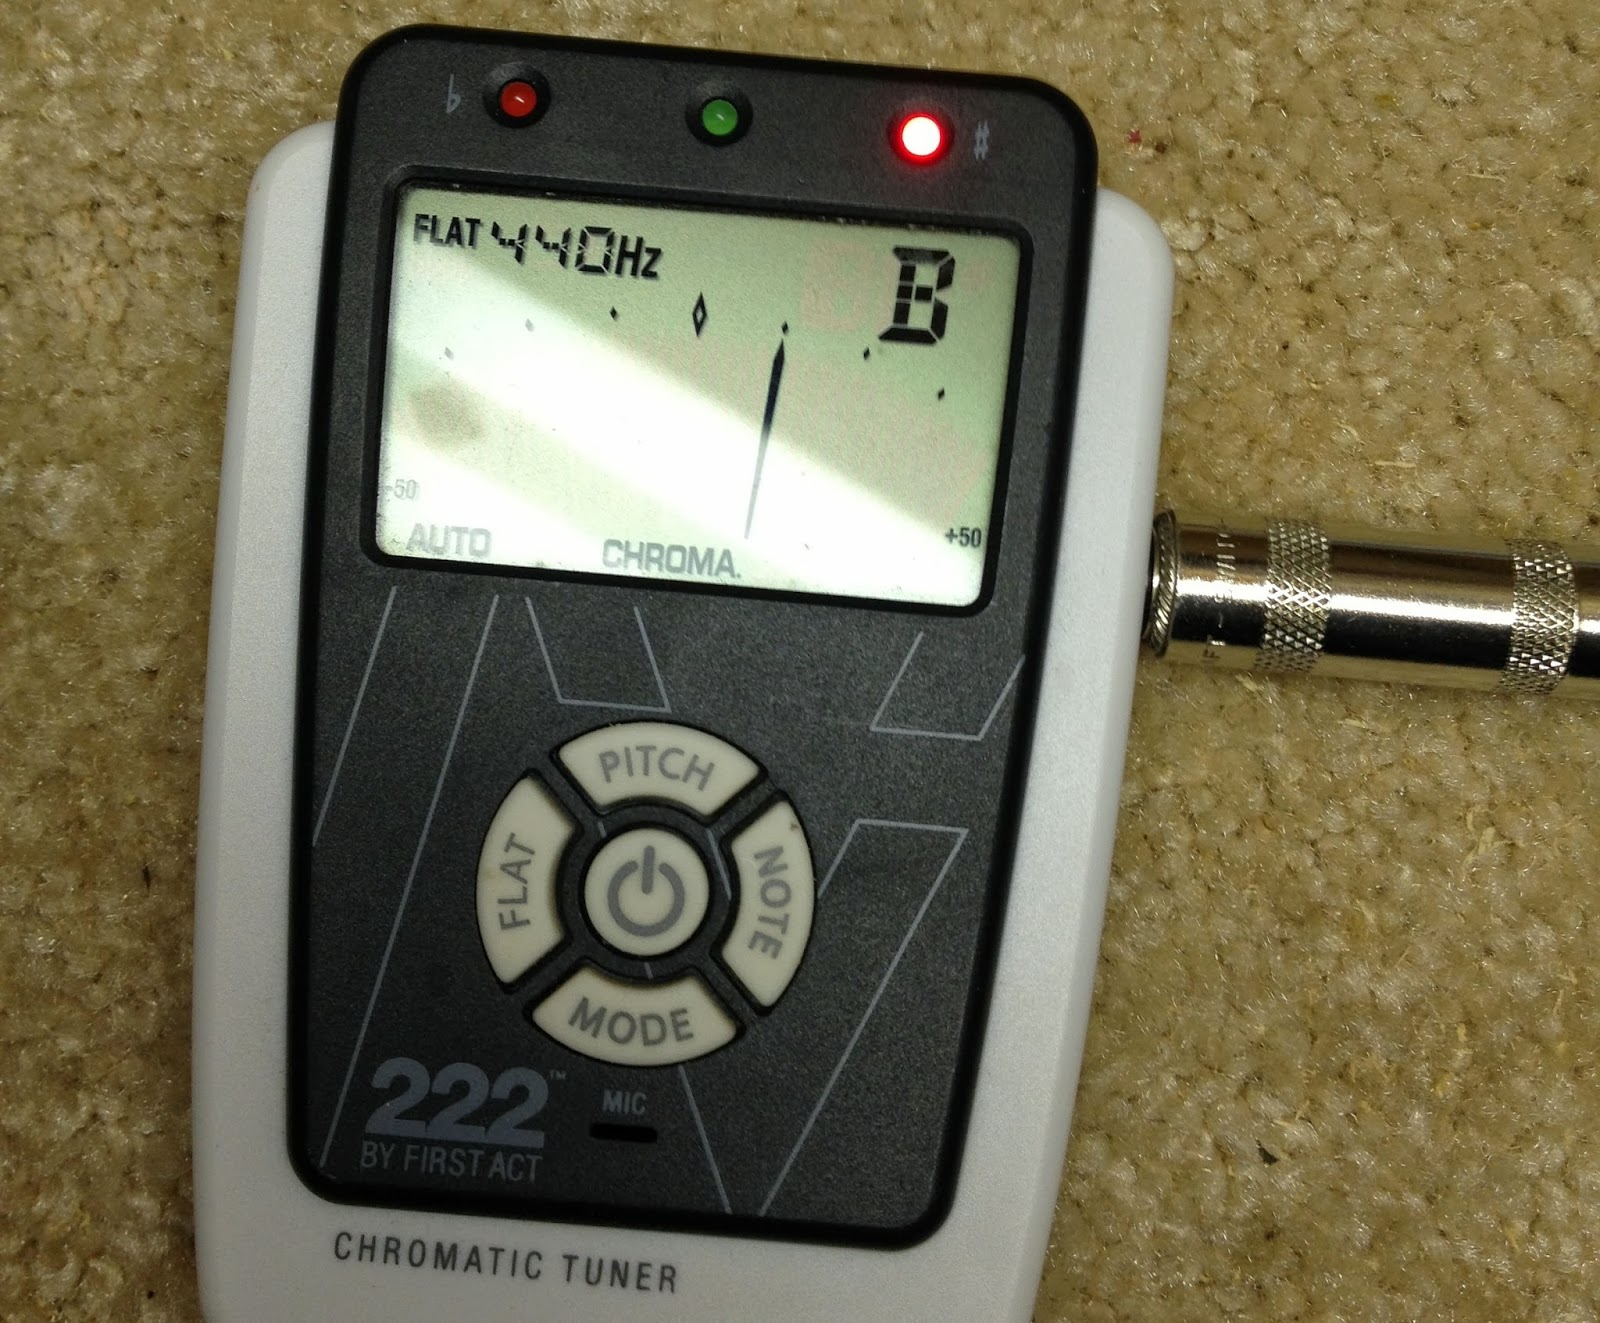
With her neck reattached and her strings in tune, I used a combo fret rocker / string height gauge to check her 12-th fret action and used my digital tuner to check her intonation.


Her action was still higher than the target 0.08-inch, measuring up at 0.13-inch on her low E and 0.10-inch on her high E ...


...and that was making her intonation slightly off, and just a bit more on the bass side than on the treble side.  All in all, it was an improvement and a good starting point for adjusting the new shim and saddle.


After a few minutes with a sharp chisel, I reassembled the neck, put the strings back on and put her in tune.  Despite the change in neck angle, I found her action was even worse than before.  I also noticed that her fingerboard was not sitting as close to her body as it was before, and had a hunch her four neck screws were no longer holding the joint tight enough.  I took the strings off at her bridge again and checked a critical measurement.


Although it would have been possible to fill in the screw holes to repair the connection, the shim I added left very little depth for the wood screws to engage the wood.  A better solution would be to use longer screws.


An even better solution would be to use brass inserts and machine screws.


A set of deep grommets would also allow me to recess the bolts into the body.  I gathered the hardware and left them laid out for the next morning.

Friday, October 4, 2013

LeSpork Bass Prototype - Working For the Weekend

Everyone's watchin' to see what you will do
Everyone's lookin' at you, oh
Everyone's wonderin' will you come out tonight
Everyone's tryin' to get it right, get it right


Another busy work week had taken its toll on me, and I was ready for this weekend.  Throughout the day, my thoughts kept wandering to all of the guitar projects I had to work on!  First was reassembling this bass neck.


There were just a few places along the neck and fretboard that didn't feel flat, and there was some residual glue that needed to be cleaned off of the contact surfaces.


A few passes with a sanding block, first with some #100 grit and then with some #200 grit, took care of all that.


Since the fretboard and neck see a lot of bending stresses, I opted to add some surface area to the glue joint.  With a few of passes of the edge of a drum sander on my rotary tool, I cut a pair of grooves in the long direction of the back of the finger board.


The grooves end up parallel to and in between the edges of the neck and the truss rod.


Just in case there would be a need to take the fretboard off again, I used hide glue to reattach it to the neck.  Hide glue releases easily with heat, and has a very short working time.  I had to move quickly, so I didn't take any pictures during the reassembly process.  After putting on a dozen clamps and wiping down the squeeze-out glue with a wet rag, I left the neck sitting on the workbench, to let the glue set up overnight.  There are a few other projects I'd like to get to on the workbench over the weekend, so I'll move this neck to another spot in the light of day, and allow the glue to thoroughly for a few days before removing the clamps.