Showing posts with label Jay Turser. Show all posts

Monday, February 16, 2015

Jay Turser JTA-Flag 300 - Made In Japan

It said made in Japan
Made in Japan
Their ain't nothing made here in this country anymore
Try the made in Japan, Hong Kong or Singapore
Made in Japan


It had been weeks since I spent any time working on a guitar project.  After trying a few on-board effects circuits for a bass project, I ordered a bunch of semiconductors from a few vendors in the Far East for another circuit.  With some time on my hands waiting for my parts to arrive, I checked in on my son's herd.  Awhile back, we made a trade.  I got his gently used Mitchell Dreadnought and he got my Jay Turser JTA-300 Flag.  After a short conversation, we figured out that the JTA-300 was way overdue for strings.  I also realized there wasn't a battery in the preamp, and remembered that her black plastic heel cover was still in my shed, waiting to be reinstalled.


My son was still pleased with the JTA's action and neck relief, so I figured I could take care of replacing strings, reattaching the heel cover, and replacing the battery within an hour.  I had the heel cover reattached with some gel-type CA adhesive in five minutes.  The restringing was quick and easy, and I put a fresh 9-volt battery in the box.  After that, my one hour estimate quickly fell apart, as I found that the preamp battery-check light was not working.  I brought This Old Guitar back inside to plug her into an amp, and confirmed my suspicions that there was no signal making it to the amp.  Back in the shed, I removed the four screws attaching her preamp to her body, hoping to find something simple like a loose wire.


The first time This Old Guitar was on my bench, I was fortunate enough to find an ARTEC EQ7545 preamp that seemed to fit like it was an OEM replacement.  The cut out in her body was just right, and the holes for the four retention screws lined up perfectly.  Time After Time, fixing This Old Guitar has been full of surprises.  I moved on to a look inside the shielded box.  I traced the power from the battery into the circuit board and verified there was a good connection from the battery to Vin and ground.  It was clear the problem was somewhere else on the board. 


Testing and replacing any of the components that could be shorting the circuit without a diagram and a high-powered magnifying lens was not an option, and I realized this preamp needed to be replaced.  With nothing to lose, I decided to take a look at the underside of the circuit board, learn what I could from it, and possibly scavenge some reusable parts.


Halfway there, I found a huge amount of sawdust between the mounting ring and the slider controls.


I took a few good last looks before reassembling the preamp, putting it aside, and getting online in search of a replacement.


This time around, I thought it would be nice to use an American-built preamp.  Again, the shape, size and location of this preamp mounting hole did not lend itself to anything else I found.  Worse, the eBay vendor I bought from last time no longer existed.  Even worse, ARTEC no longer listed the EQ-7545 model on their website.  But, I did come across a number of vendors, including a particular one in New Jersey with the lowest cost including shipping, that was offering the EQ-7545 and EQ7545-R preamps for less than what I had paid for a EQ-7545 last time.  I was careful to order one listed as EQ-7545, and not the EQ7545-R model, expecting that it would match the listing pictures and be the same as the one I was replacing.  In fact, I remember from the first time around, the description of the EQ-7545 included the word Flat, indicating it was to be installed on the flat part between the lower bout and waist.  So, I was disappointed to find that what I received this time actually was the EQ7545-R.  The differences are subtle but critical.


At this point, the thought of actually finding the EQ-7545 preamp with the flat mounting bezel I needed and waiting for a replacement to ship was unacceptable.  Instead, I decided to swap out the contents of the shielded boxes.  With the removal of a few screws, I was half way there.  In fact, the most complicated part of this swap was exchanging the spring contact sub-assemblies in the battery boxes.  This was necessary since the EQ7545-R circuit is attached to the battery by means of a molded plug instead of straight soldered connections like the EQ7545.  I removed enough of the battery box with my rotary tool to accommodate the plug and snapped the sub-assembly into place.


Assembly of the new working circuit into the old flat mounting bezel went just as easy as taking it out.  With a fresh battery in the box, I was delighted to see the warm glow of the battery-check LED.


I installed the remaining screws, reapplied the controls label, attached the control knobs, and moved on to reinstalling the preamp into her body.


Here she is, ready for another 2 years or 2,000 songs, whichever comes first.


Sunday, October 20, 2013

Jay Turser JTA-Flag300 - Crazy on You

But I tell myself that I'm doing alright
There's nothing left to do tonight but go crazy on you


Back in the 1970's a lot of guitarists went crazy over the Ovation bowl-back guitars.  Using a Lyrachord body, Charles H. Kaman, an aeronautical engineer known for his pioneering work in helicopter and aerospace design, revolutionized the guitar building industry.  Product endorsements ensued, and through many years of experimentation, Ovation still stands out as a pioneer in using alternative materials to produce beautiful and quality stringed instruments.  This Jay Turser of mine is an obvious copycat, using some lower-quality parts, but it is just as capable of being a very playable instrument and producing some very tasty sounds.

To stabilize the neck joint, I put in a set of machine bolts with brass inserts.  First up was enlarging the existing screw holes to accept the new brass inserts.


The inserts went in with ease, and I moved on to the visible part of this addition at the bowl side of her body.  Due to the length of the machine bolts and grommets I chose, it was necessary to partially countersink the grommets through the Lyrachord body and into the neck block


With the new body grommets and brass neck inserts in place, I restrung This Old Guitar again to confirm that the neck centerline was still true, and it was fine.  However, the clamping force of the four machine bolts was much more than with the four wood screws, and I quickly realized it was necessary to shim up the joint, one more time.  After gluing up a partial length oak shim, I started the process of  filing, chiseling and sanding it down to a good fit.


After restringing and tuning, I checked her action and was pleased to finally be close enough to finish her action adjustment with some minor reshaping of her bridge saddle to get to 0.08 inch 12-th fret action at her high and low E strings.


As expected, the new neck set angle and saddle height adjustment took care of the playability and intonation issues.  However, there is one remaining structural issue.


The new neck set angle produced a slight amount of separation between the body and fretboard.  This separation, combined with her nice, low action, is just enough to produce some upper fret buzzing when being played near the body.  As I want to keep her neck removable by simply pulling four bolts, gluing the fingerboard to the body is not an option.  In order to fix this, I'll be inducing some back bow into the upper end of her fretboard by means of some carbon fiber strips, the next time I get to work on This Old Guitar.

Saturday, October 5, 2013

Jay Turser JTA-Flag300 - Bargain

I'd pay any price just to win you
Surrender my good life for bad
To find you I'm gonna drown an unsung man


That was a good deal for Pete, but for my son and I decided to make a trade with a pair of our guitars.  He gets my rare-and-repaired Jay Turser Flag and I get his gently-used Mitchell Dreadnaught.  I'll come back to setting up the Mitchell to my likings in a future blog.  But, before we could make this horse trade official, I had a few things to finalize on the Flag.

All of the wood shims I added to the neck joint had finally settled, and the neck joint was shaky at best.  After a few minutes of hard playing, she needed to be retuned.  Although my son was ready to take her as-is, her action was already too high to adjust by further shortening her saddle height, as her saddle was already trimmed down some.  As a result of the high action, her intonation above 9th fret was off just enough to make me want to cover my ears.  I really could do without listening to my son play This Old Guitar in this condition, so the first item on the to-do list was another neck reset to increase her neck-to-body angle.  That would allow me to replace her used saddle with a new one, while leaving some room for future action adjustments as the new shim in the neck joint settles.


With some yellow glue and the new shim in place, I applied pressure with a pair of bar clamps.  After cleaning up the squeeze out glue with some water, I left the assembly to allow the glue to dry overnight.


A few touches with a chisel, some filing and some sanding took care of smoothing out the rough edges and trimming them flush to the rest of the heel.


After some trimming to both flat surfaces, it was time to check and adjust the new neck shim.  This new bone saddle is just over a full 1/16-inch taller than her old tusq saddle at the middle and has a larger radius that better matches her fretboard.


Before putting the screws back in, I clamped her neck in place and checked the projection along the centerline of her fret crowns to her new saddle with a straight edge.  It was lining up just below the tip of the saddle.


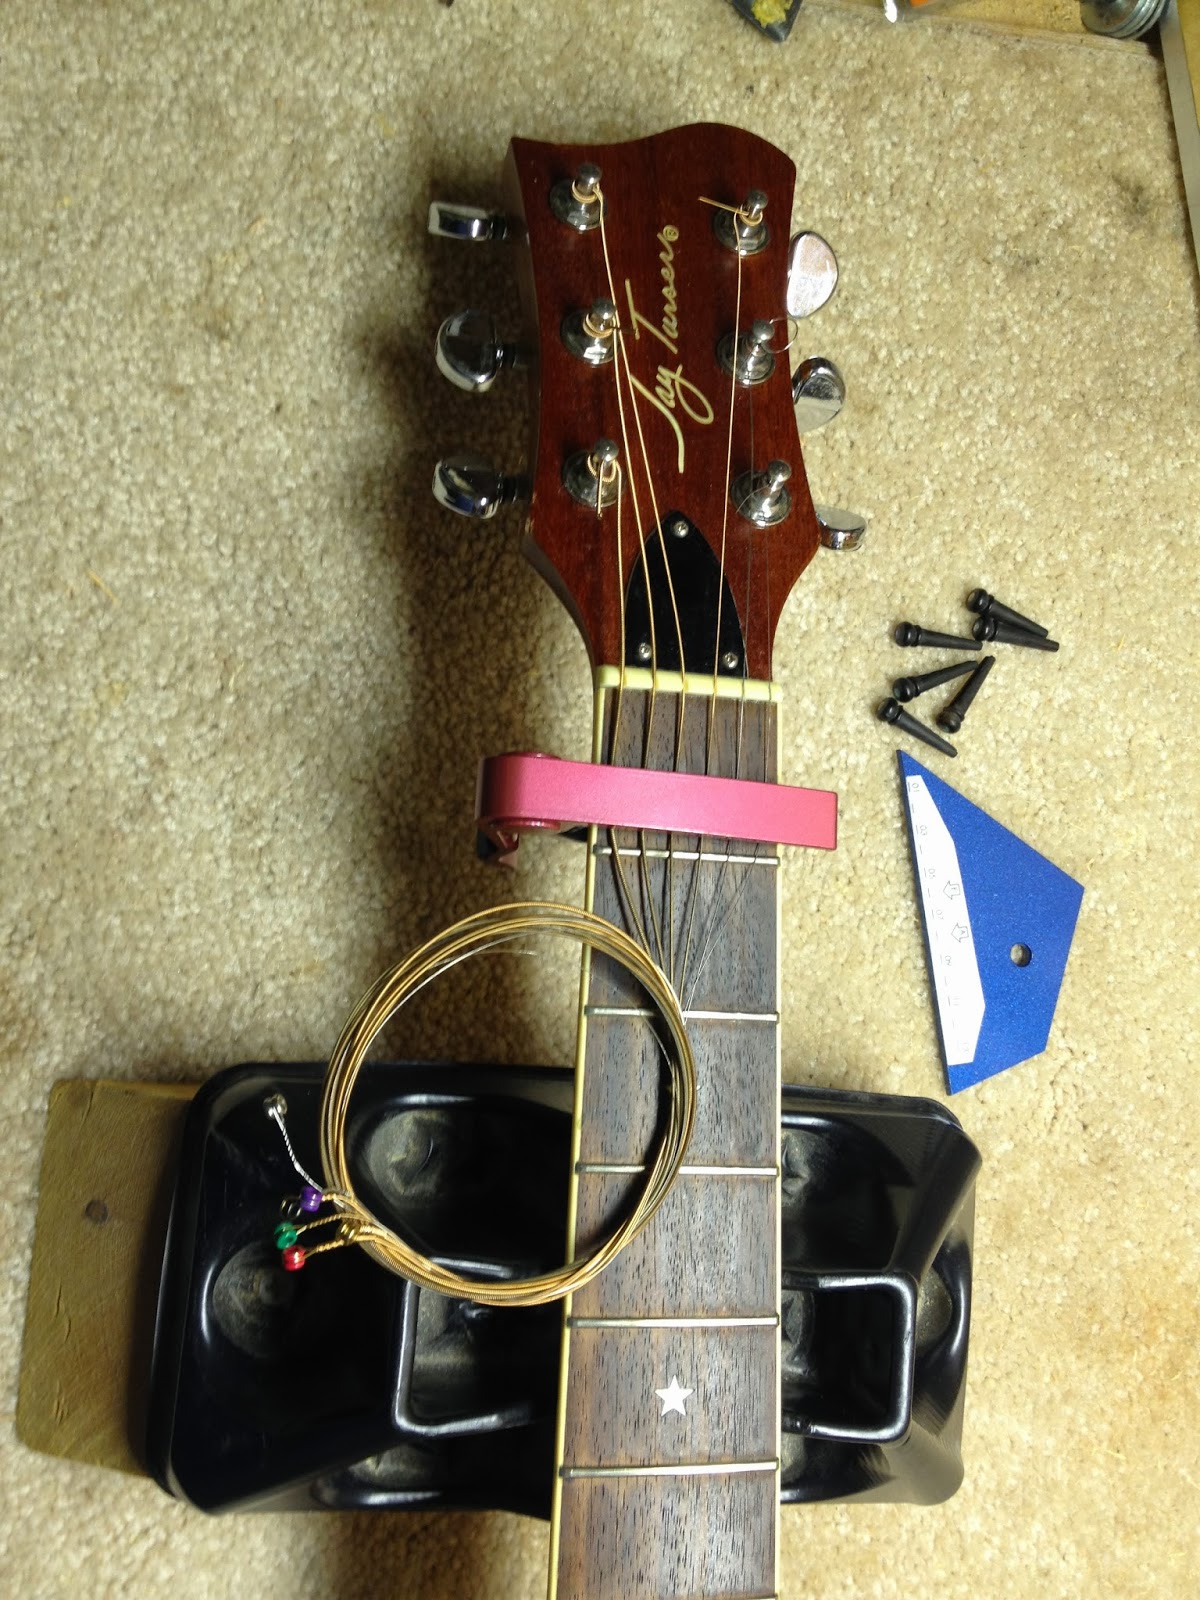
Pleased with how the projection looked, I restrung This Old Guitar.  BTW, here's how I use a capo to save and reuse a set of strings during repair work.  She'll get a new set of strings when I'm done adjusting the neck set angle and saddle height.


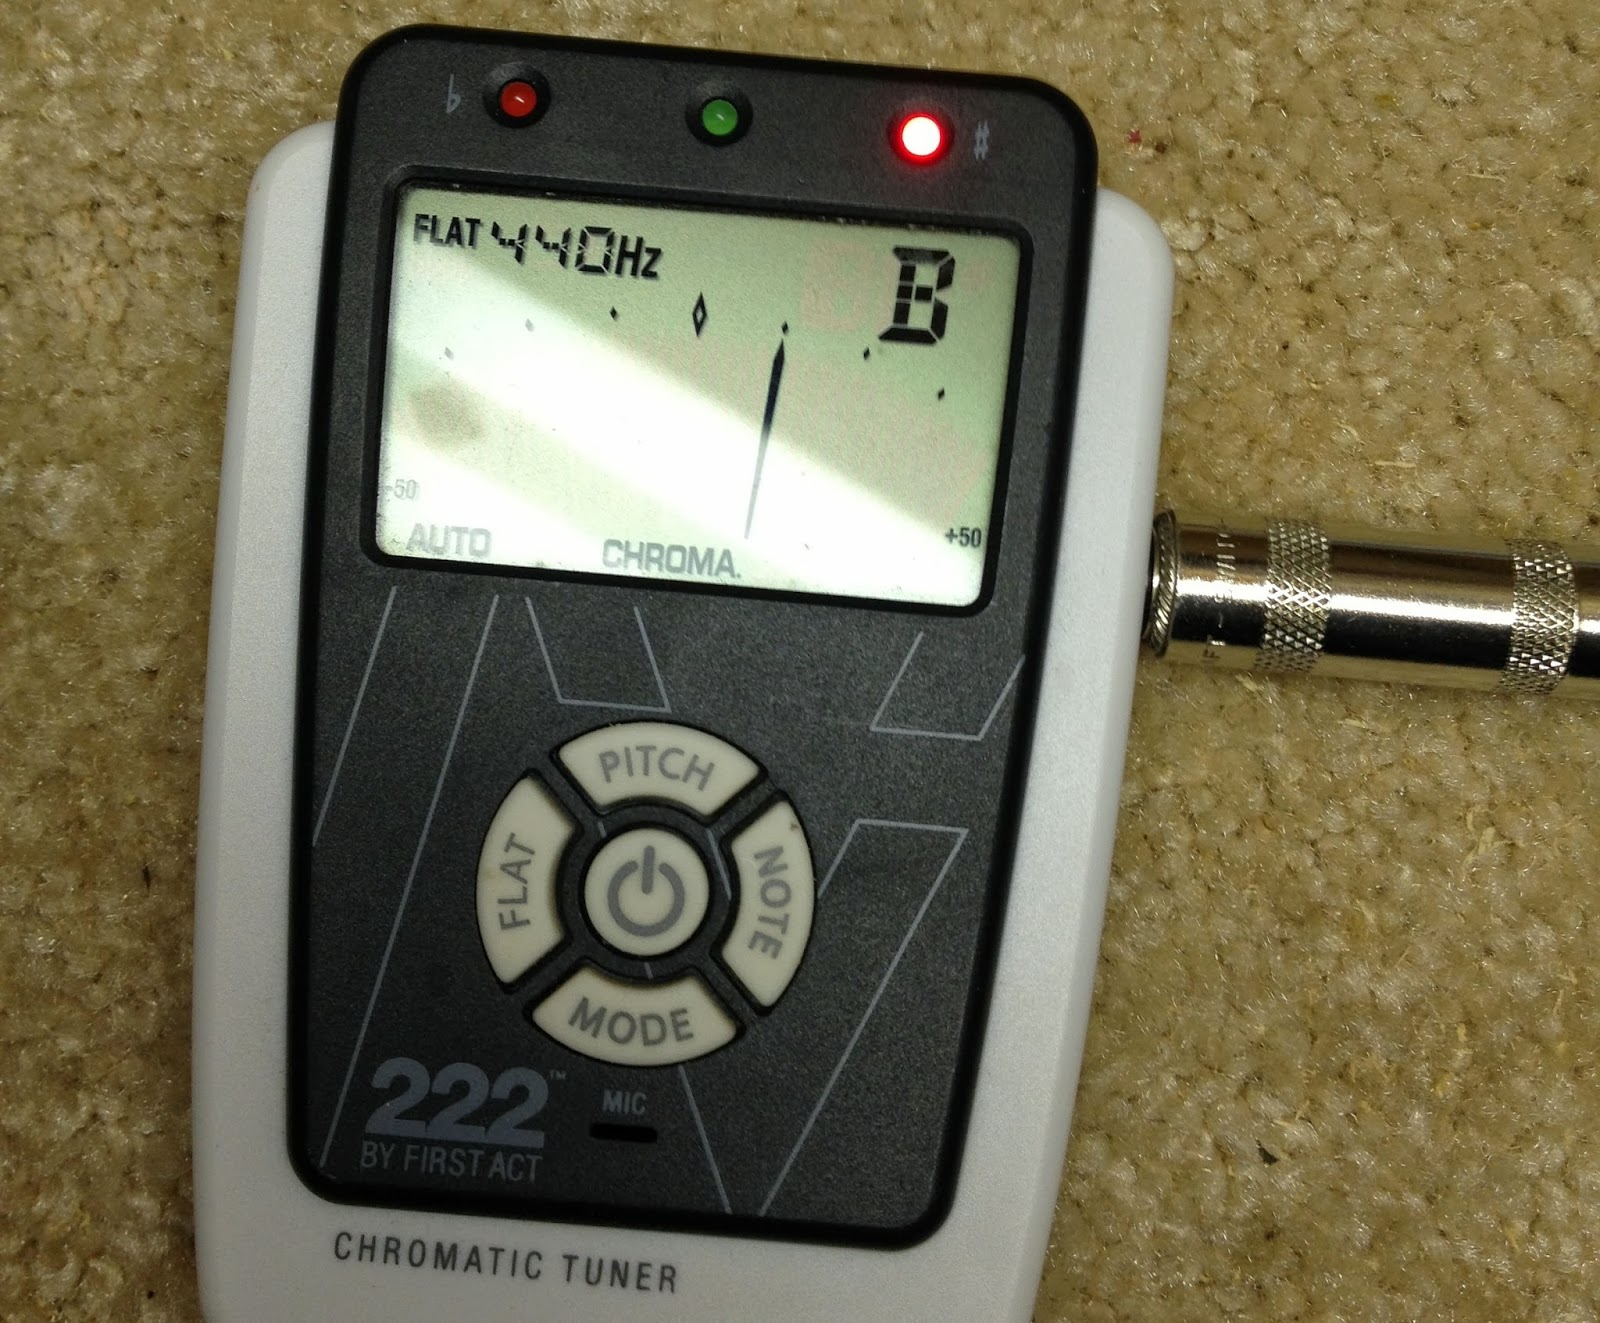
With her neck reattached and her strings in tune, I used a combo fret rocker / string height gauge to check her 12-th fret action and used my digital tuner to check her intonation.


Her action was still higher than the target 0.08-inch, measuring up at 0.13-inch on her low E and 0.10-inch on her high E ...


...and that was making her intonation slightly off, and just a bit more on the bass side than on the treble side.  All in all, it was an improvement and a good starting point for adjusting the new shim and saddle.


After a few minutes with a sharp chisel, I reassembled the neck, put the strings back on and put her in tune.  Despite the change in neck angle, I found her action was even worse than before.  I also noticed that her fingerboard was not sitting as close to her body as it was before, and had a hunch her four neck screws were no longer holding the joint tight enough.  I took the strings off at her bridge again and checked a critical measurement.


Although it would have been possible to fill in the screw holes to repair the connection, the shim I added left very little depth for the wood screws to engage the wood.  A better solution would be to use longer screws.


An even better solution would be to use brass inserts and machine screws.


A set of deep grommets would also allow me to recess the bolts into the body.  I gathered the hardware and left them laid out for the next morning.

Wednesday, May 29, 2013

Jay Turser JTA-Flag300 - Wichita Lineman


I know I need a small vacation.


At the beginning and end of April, I took two well-needed vacations from some of my responsibilities at work and at home. Besides enjoying a visit from my sister, spending quality time with the wife and kids, and making a trip to Binghamton, NY, I spent part of a weekend on the LeSpork Prototype build.  I even found time to pick up and play a couple of the guitars in my growing herd, and buy some guitar parts through eBay.

Having already taken steps to design and build a full-on acoustic Flat Top Tele, it was time to make some room by cutting one loose from the flock.  I'll share more on that choice another time.  My Jay Turser will be with me for awhile yet.  Already well into the month of May, it was time to get back to the shed and finish up my repairs on this JTA-Flag300.

When I left off last time on this project guitar, it was clear that the action was very high.  It was so high, it made most of the neck unplayable.  To fix this meant adjusting the neck set angle.  To allow for future adjustments, I decided to adjust the angle by adding a small shim in the joint.  After making and trimming two shims, removing and replacing the neck numerous times, and restringing This Old Guitar just as many times, I ended up with a shim that was just the right thickness.  The thickness tapers, between about 1/16-inch nearest the neck bolts to about 3/32-inch towards the bridge.


Since there is nothing at the rear of the neck pocket for it to rest against, I glued this shim to the block.  After clamping, I left the glue to dry overnight, and moved on to sanding the neck.


When I had reattached the fingerboard, the edges of the binding strips stood proud of the neck wood just enough to be noticeable.  With some #150 paper, some light block sanding and hand sanding is all it took to get the surfaces to align.  When I was satisfied with the way it felt, I roughed up the rest of the back of the neck with #150 grit paper, in preparation for applying a couple of coats of clear lacquer.


After restringing and tuning one more time, I checked her 12th-fret intonation.


The compensated tusq saddle I'm using does not give perfect intonation on all of the strings.  But, for something off the shelf, it's pretty good.  I'll put a compensated bone saddle on her and tweak it later on.


I like a very flat fingerboard, so I tweaked her truss rod to get just barely enough relief to avoid fret buzzing.  With that done, it was finally time to put that truss rod cover back on!


Her 12th-fret action measured just over 3/32-inch on the low E and just under 3/32-inch on the high E.  With a set of D'Addario EJ15 strings, that's a very comfortable setup for me to play finger style on an acoustic guitar.  Expecting another hot and humid few days, I brought her back in to the air-conditioned house.  My son and I will be playing her for a few days, allowing her to acclimate and settle into the lower-humidity environment for awhile, before touching up her neck finish, reinstalling her black plastic heel plate, and giving her a good cleaning and polishing.