Monday, April 30, 2012

Harmony H1203 Sovereign - Details in The Fabric

If it's a broken part, replace it.
If it's a broken arm, then brace it.


Before moving on to the neck reset, I wanted to take care of a few other details.  First, there were some extra screw holes in the back of the headstock that needed filling.  Second, although the neck repairs I made were holding up, some touch-up work was needed where the fret board binding ever-so-slightly overhangs the neck.  Third, there were a few places in the new body binding that needed some touch-up.

Filling in the screw holes was easiest, so I started there.  There were four unused holes from the original tuners that were no longer needed.  I trimmed some small pieces of mahogany from that extra back brace and set them in place with some wood glue.  After the glue set, I sanded off the excess wood.


The neck had a combination of issues.  First, there was a gap between the binding  and the neck on the bass side at about the 11th fret that needed to be filled.  The gap varied in depth and width, so I filled it in with a bunch of small pieces of mahogany.  Here are pictures of the spot before, during and after the wood work.


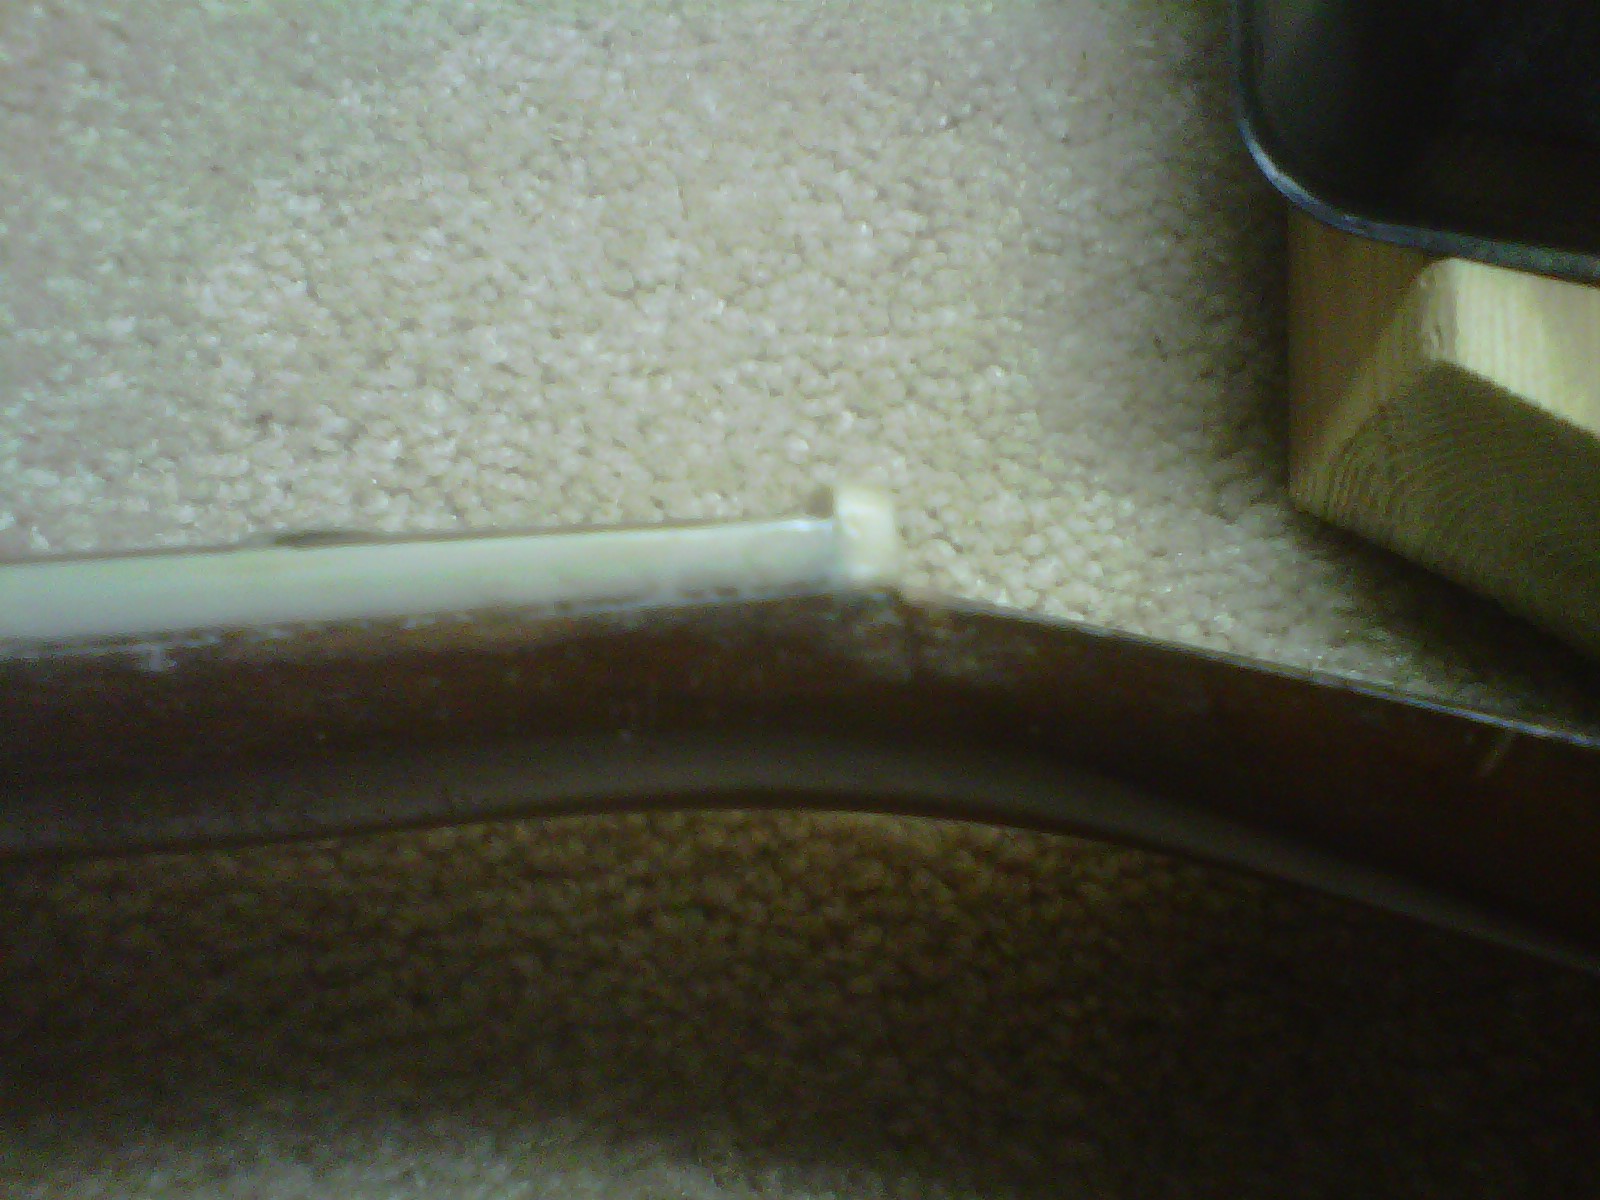
While sanding down the slight binding overhang on the treble side at the nut end, I found out just how thin the binding was.  That little triangular shaped where the binding, nut and neck meet is the exposed edge of the wooden fret board.


I also had some touch-up to make to the new back binding seam.  I made the seam near the dovetail joint so it would be least likely to be seen, but the little notch is too noticeable.  It is easy enough to fill in.


I started by adding some extra bits of binding to some straight acetone in a mason jar.


After sitting all sealed up in the jar for 24 hours, the acetone melted the binding into a watery paste.


Besides the spots at the fretboard and back binding seam, I used some at the back by the waist.


I let the binding paste setup for a few days before sanding down these repairs.


I'll spend a few more evenings touching up a few more spots before starting in on the neck reset.

Sunday, April 22, 2012

Harmony H1203 Sovereign - Bound for Glory


During the past few days, I made a few repairs to the back edge.  There were a few empty spots where the braces cross through the side/back joint that needed filling in with some wood scraps and hide glue.  After waiting a day for the glue to set up and doing the final sanding, it was time to put on the new binding.  I read up on technique, lined up my materials and jumped right into it.  The first thing was to rough bend the binding strips into the shape of her body.  Since I did not build this guitar, I do not have a side-bending form for it.  But, I have the next best thing - the body itself and a hair dryer.


From the measurements I took, I had plenty of width in the binding strips but not enough thickness in some spots from all of the trimming I had done to smooth out the mess I had made when I removed the original binding strip.  So, I decided to bend enough binding strips to go around the edge with a double thickness.  I taped the strips around the body and applied some heat.


Both of the binding strips I had were long enough to go around the body.  I left one strip taped around the body while attaching the other one.  That tube of Loctite Stick'N Seal in the picture remained unopened.  Instead, I use Scotch Maximum Strength Adhesive throughout.  The Scotch adhesive has enough work time to do just a few inches at a time, so I was careful to alternate between tearing off a bunch of pieces of tape before applying some adhesive, and taping a few inches of the binding strip down.


A little past the halfway point, I stopped for a breather from the fumes of that adhesive.


It took about 40 minutes to work my way around the body.  I left the body sitting and allowed the adhesive to set up for a few hours.


A few hours later, the adhesive had set up, and I could see a few spots where I had not used enough.  I reapplied the adhesive, pulling back the strip enough to let the adhesive get into the joint, put on some more tape, and left it sitting again for a few more hours.


Using my Dremel  with a grinding attachment, I started knocking down the binding to just above the surface of the back panel.  I started at the end block and worked slowly to avoid marking up her finish as much as possible.  Although I expect to have to spray some clear lacquer past the edge onto the back and sides, I hope to minimize the area to be refinished, as I do not plan on refinishing the entire body.  After removing all of the tape and making my way around the body, I realized one thickness of binding strip would be enough if I sanded down the sides in a few spots.  Considering how thick and chunky the side panels and kerfing are in this old guitar, I decided to sand down the sides and go with one thickness of binding strip.


Some 60 grit sandpaper did a nice job leveling out the surfaces of the binding and body, and using some 100 grit I smoothed out the uneven spots and finished rounding the edge off of the binding strip before calling it a night.


Thursday, April 19, 2012

Harmony H1203 Sovereign - Back to You Part 4

I'm back.
Back in the New York Groove!


It felt like the longest 48 hours of my life, but I waited two full days before removing the tape and clamps.  What a relief it was to find everything holding together and no exposed edge.  There's even an overhang of a fraction of an inch into where the original binding strip used to sit in a few spots.


I started slowly cleaning out the rabbet edge with a sanding band attachment on my Dremel.  After about 40 minutes, I had made it all the way around.  There are a few high spots, and a few places in the joints at the that I'll fill in with some wood and glue, but most of it is already fairly close to where I want it to be.


Monday, April 16, 2012

Harmony H1203 Sovereign - Back to You Part 3

Oh, she looks so good
Oh, she's made out of wood.


One sign of a good joint in wood is the ability to use light clamping pressure during gluing.  When the parts are out of alignment, excessive clamping is used to force the surfaces together.  This generates internal forces that can work against the joint or result in warping the parts over time.  When the parts mate up well, you only need to hold things in alignment until the glue bonds the parts together.  I was very encouraged by how well the back and sides matched up during dry fitting this time around.  Although the most previous attempt did not produce all of the desired results, keeping the back and sides glued together as long as I did seems to have reformed the shape of the sides to match the outline of the back.  I realized I had a small window of opportunity to attach the back this time, before the sides began to spring out of shape again.


Painters tape seems to have just enough elasticity to hold things in place.  I added the bar and spool clamps to help bend the back panel into the slight curvature, as it was off by about 1/8" from the end block to the neck block.  I also used cauls under the two bar clamps, to make sure the back adheres well at the end and neck blocks.  Since applying the glue this evening, I've checked on her twice.  So far, everything is holding and there are no sings of slippage.  I'll let the glue dry for at least 48 hours this time before removing the clamps and tape.

Sunday, April 15, 2012

Harmony H1203 Sovereign - Back to You Part 2

Oh it's taking so long.  I could be wrong, I could be ready...


The singed hide glue mess came off of the back panel easily with some steam and a little wet scraping.  I had to be careful to aim the steam away from the braces, so this would not turn into more brace repairs.  Followed by some dry sanding, the back panel was ready for reattachment.  Next, I moved on to the cleaning up the edges of the body where the sides meet the back panel, and the glue that had dripped onto the inside of the top panel and braces.  Some dry scraping and sanding quickly took care of that.


Next came a few more dry fittings, with some sanding at the slots in the sides that accept the ends of the braces.  While running some errands this afternoon, I picked up some fresh hide glue and another four bar clamps.  I’m hopeful that by using some painters tape with a combination of more bar clamps and less spool clamps, I can get the back panel and sides to mate up good enough so I can finish the edge with a simple binding strip.  I put some tape on the sides and back panel to help remind me where the braces are as well as a couple other spots to help keep things lined up during clamping and drying.  That does it for tonight, gluing it together will wait until tomorrow.

Monday, April 9, 2012

Harmony H1203 Sovereign - Back to You Part 1

back to you
it always comes around
back to you


Although I have not done any work on the Sovereign since last July, I have been giving the remaining repairs a lot of thought over the past few months.  Before I put this project aside last summer, I had the great satisfaction of getting to play her a few times.  I temporarily shimmed the neck joint enough so that the string tension would hold the neck in place, fit up the new bridge saddle, and put on a fresh set of D'Addario EJ15's.  As expected, she had a mellow, muted tone, even with a set of strings known for a warm, bright, and well balanced tones.  Her shallow neck profile and narrow fretboard make playing a pleasure for me, and I was amazed at how good her intonation was all the way up to the 14th fret.  Early in July of 2011, I made a trip up to Maryland to visit and play with some friends and fellow amature musicians.  I considered bringing her up with me, but decided it was too risky without her back properly secured.

With the mild spring weather and some time on my hands this past weekend, it was time to get back to the repairs.  After removing the strings, I slid the neck out of the joint and gave it a look over before setting it aside.  I was pleased to see the neck and front bracing repairs I made last spring were holding up well.  But, the 50+ year old back panel was showing lots of collateral damage from my repeated removal and re-gluing techniques.  Removal at the end block this time proved to be very challenging, and I could not avoid some new but minor panel and back brace breakage this time.


The last time I reattached the back, a crack near the widest part of the lower bout developed, resulting in a piece splitting off.  This time, taking the split piece off resulted in breaking it into two pieces, and another structural crack occurred near the first one.  The new crack runs perpendicular from the edge and past the brace nearest the end block.


Given that I am still struggling with a way to bend the sides enough to reuse the back panel, this damage is telling me it may be time to replace the back.  Unlike that first acoustic repair I made, when I replaced the top and back panels with red luan plywood, I want to keep true to the construction of this old guitar’s solid tome wood.  Fortunately, eBay is a wonderful source for finding such things, and I have already found a new two-piece Honduran mahogany back to use if necessary.  Before going that route, I'm making one last attempt at salvaging the back.  When the glue dries on all the brace and panel repairs, I'll start cleaning up the singed hide glue mess I made when I detached the back panel. Meanwhile, there's plenty of interior and edge glue cleanup to do on the rest of the body.